For my 4th field assignment, I have decided to "Create a Special Effect". I am going to show you guys a simple way of making something pretty cool, using Photoshop. I am going to be using Photoshop CS3, but the other ones should be relatively similar... k, so here goes.
Creating Radial Stripes in Photoshop
1. Open up a new canvas in Photoshop, let's make it 500 x 500 px, with background colour as transparent.
File > New
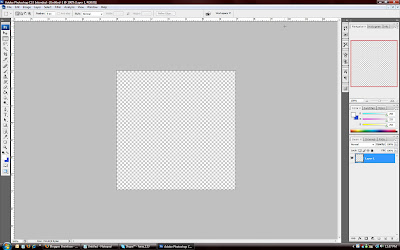
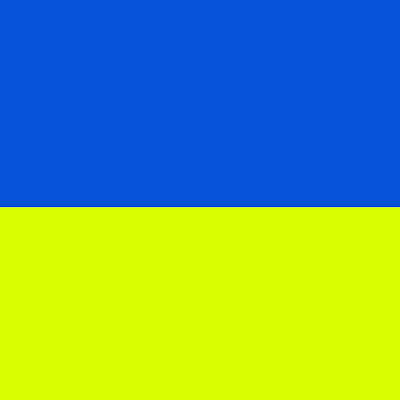
2. Notice that my rulers are on. To do this, simply press "Ctrl + R", or "Cmd + R" on a Mac. Next, use the Rectangular Marquee tool to draw a rectangle slicing the square into two portions horizontally. Fill one end in with the colour that you want one stripe to be. Then select the other ("Ctrl + Shift + I", or "Cmd + Shift + I" on a Mac), and fill the other square with whatever colour you want the second stripe to be. To fill in with colour, simply use the fill tool to fill in the highlighted/selected region. The colours I will be using are a nice yellow and a contrasting blue. The numbers are: d7ff00 (yellow) and 0653d6 (blue). After you're done, this is what it should look like.
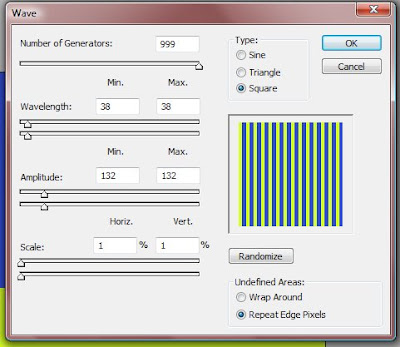
3. Next, go into Filter > Distort > Wave. A dialog box should pop up. Play around witht these settings to get multiple straight vertical lines. Here is an example of what I did. You can copy the exact settings that I entered.
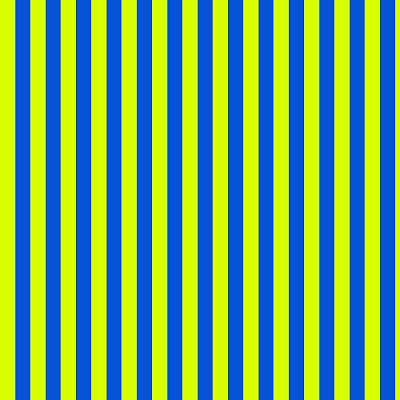
4. Applying this distortion should render the following result.
5. So now we have the waves. Let's make these into radial waves. Go into Filter > Distort > Polar Coordinates, and click OK once the dialog box pops up. Your image should now look like this:
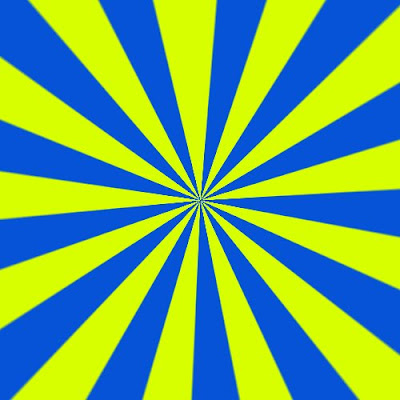
6. It looks kind of cool, but still plain. How about changing some blending options to spice things up? To do this, double click on the layer in the Layers Palette, and in the side toolbar, click Gradient Overlay. Leave all the options the same, except change the Blend Mode to Multiply. Obviously, you have to change the Gradient from the ugly defaulted grey gradient. To do this, click on the drop down arrow beside the Gradient option, and click the second little square - Foreground to Background. Now another dialog box should pop up, asking you to specify which colours you want. I chose two reds - a lighter one and a darker one, both within the same colour preset. With this reddish gradient overlay, your pattern should now look something like this:

It could also look something like this:

You can do a lot of things with this radial stripe effect. Here is an example - our magazine (Me, TA and HRs magazine).

It's a very practical application, and it actually looks semi-okay... right?
1 comment:
Cool !!! Thanks for help. Photoshop is awesome.
Post a Comment