Step 1: Go to the channels palette and make a new layer. It will be black, so take the lasso tool and make a selection where you want the pixles to be, and make it WHITE with the brush tool.
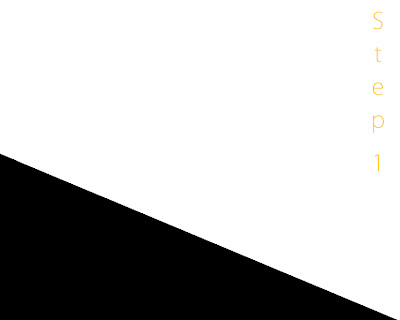
Step 2: Go Filter>Blur>Gaussian Blur and blur the black and white so that it looks well blended.
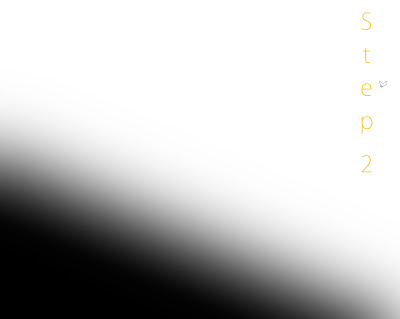
Step 3: Go Filter>Pixelate>Colour Halftone. This will make your blurred image have a bunch of circles that look like they are fading and getting smaller across the page.
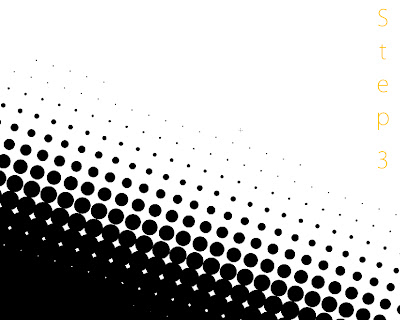
Step 4: Take the majic wand tool and select the black spots. Then with what is selected, right click>similar, and the whole group of spots will be selected. Or to make it easier, when you have done the colour halftone part, right click on the dots (make sure they are all UNSELECTED) and choose Colour Range. Then a menu will come up for what colours you want to select (this is very easy cause it's just black and white xD)and the selection might be a little more accurate than the other way, but either way works fine, it all has to do with the options for the majic wand tool.
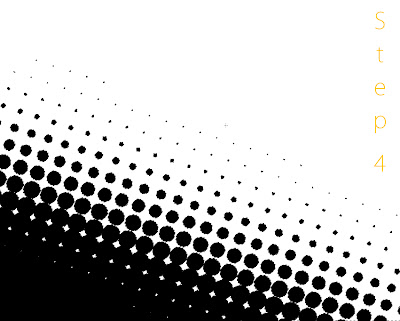
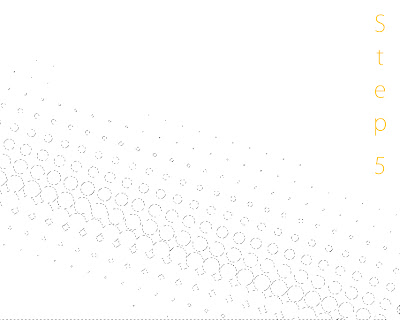
Step 5: Delete the entire channel cause you won't need it anymore. Take the selection of the dots you made to a new layer over the background layer on the "layers" palette.
Final Step: Use the Gradient tool and fill in the selection with some nice colours =) Add some more details (you can find brushes on the internet) and you're done! =D

Tutorial and screenshots made by: Vanessa. K
Program used: Adobe Photoshop CS3 + Wacom Bamboo Tablet
No comments:
Post a Comment